![]()
BrandBerry Marcom is a leading full-spectrum marketing communications agency focused on consulting, and delivering end-to-end, fully managed services.
M +91 9654591813
Email: talk@brandberrymarcom.com
BrandBerry Marcom Pvt. Ltd
H-91, Sector-63,
NOIDA - 201301.
Delhi NCR, India.

10 Tips to Help Beginners Sail through their Designing Shenanigans
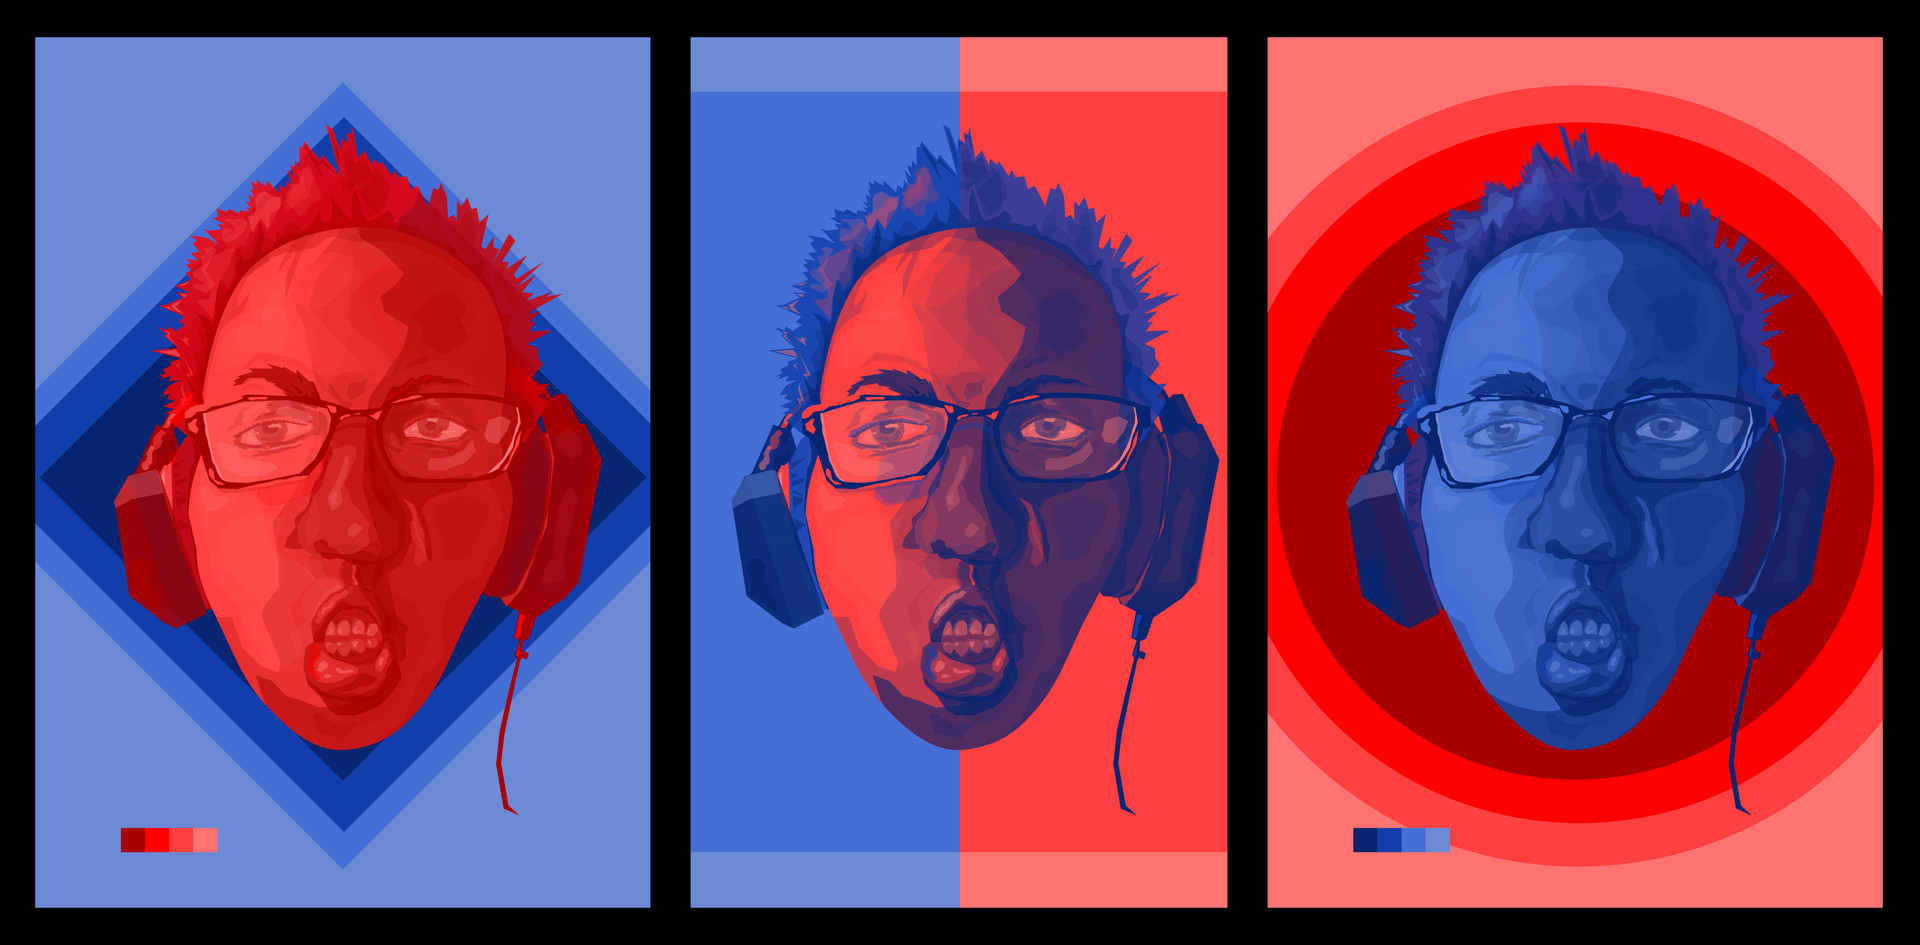
Every designer wants to showcase his skills and talents at bets and like it happens to all, they get stuck! Worry no more, every great design starts from some point. We help you take on from that point to a full circle. Designs must be fluid, simple yet strong and must resonate the idea behind them. Simple structures sometimes do the real wonders and complex images sometimes add no beauty to the meaning of the design.
As the coolest bunch of graphic designers in Delhi NCR, allow us take a dig at how can our complex designs be made instantly relevant and some tips to help beginner graphic designers in India and across the world sail through their designing shenanigans:
- Imagery needs to be absolutelyclear in your thought process before drawing on the art board on your digital interface. Sometimes going manual helps before going digital. If confused, make a rough draft on a sheet of white paper and then you will certainly be clearer of what you might want to draw as a soft copy.
- Use two colors while writing or drawing. For instance, use two different gradients of perhaps a similar color - this will add depth to each layer of each element. This is most useful while adding alphabetical or numerical text and bold objects as part of your imagery.
- Use blank spaces. Everything has some property to it, even blank spaces. Essentially, you should not leave blank spaces in your layout. In photography and designing, blank spaces play a very heavy role. They should be used to adjust some other element that can support your main object in focus. Sparsely placed objects might not make sense sometimes. They mostly don't! So do not leave any unwanted blank spaces if not highly necessary or leavethem with purpose. In its corollary, know the purpose of your design and then start filling the space. If not required, do not constraint the canvas.
- Do not underestimate macro white spaces;another important tip to add onto the list. As a designer who deals in graphics, you must leave some breathing space around the most important elements. Leave some more space than you think is fine. It can help the design work in all sizes. Treat it as a graphic designing tool.
- Add an underline to your heavy typography.It will help separate the big sized text from the small sized text and would make both legible and comprehensible.
- Limit yourself to narrow columns while writing for two separate paragraphs.To make the lines more easily readable while jumping to the next line and to make it look more professional, use a distinction of 58 characters per line.
- Use two different font sizes to create a visible distinction. A very basic step for perhaps not just a graphic designer but also anyone working on textual formats digitally. You may be using the same color for your texts but using two different font sizes can help in making the same text different, distinguished and more clear, so much so, that it appears sensible to anybody's visual sense, thus adding to the appeal.
- Use an inverted pyramid for important elements. Keep hierarchy ofthe elements most important in mind and place the most important elements most bold and at a point that makes them catchy and give lesser boldness to the lesser important characters. Go in the same fashion for rest of the elements as well.
- A background image resting underneath your top layerjust does wonders to the entire canvas. Even if there is a single wordin your entire canvas, that should be in bold, maybe even caps, but must be with some background details or information to it, may be a blurred picture or a riot of soft and dispersed colors can support the life of the canvas.
- However odd it may look to some eyes, but text closely knit and to either side of the frame looks edgy and even classy. Try other alignments also than just central alignment.
- Final tip for your eyes!


Leave a Reply